 Beauty Basics Contour 101
 Beauty Basics Contour 101
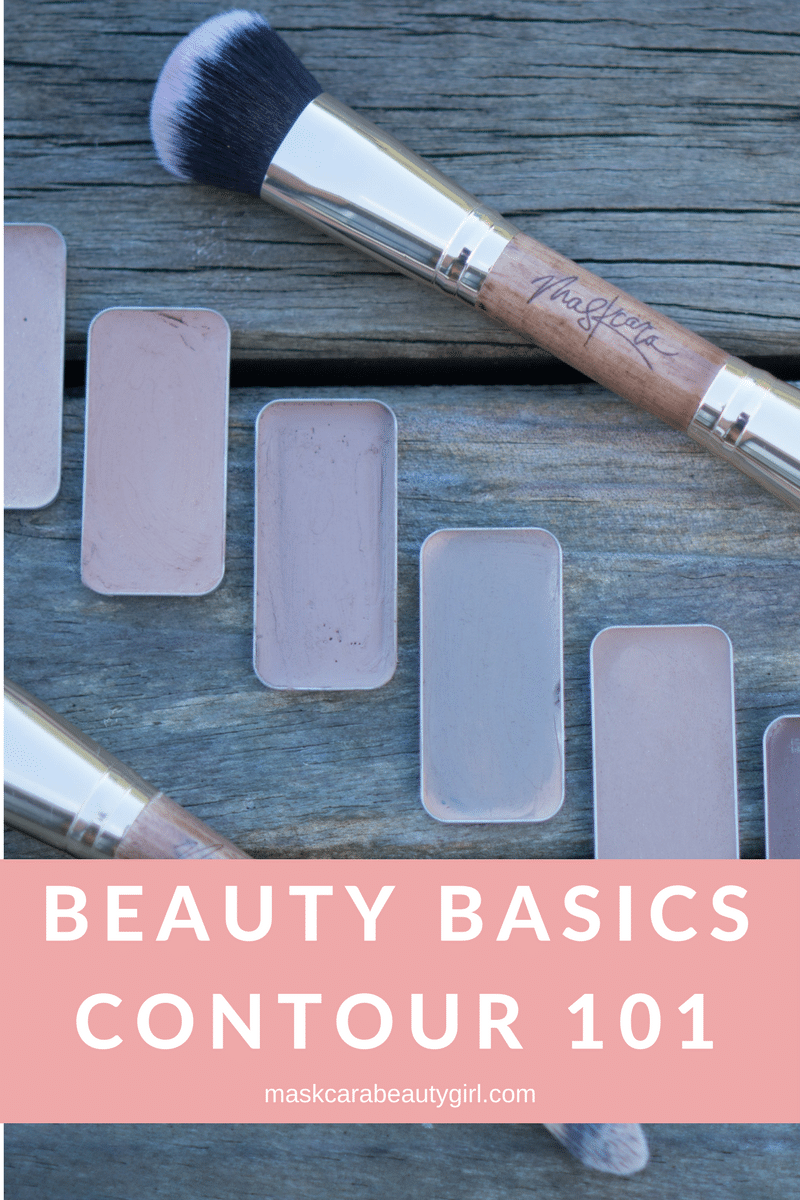
Welcome to Beauty Basics Contour 101! This is my favorite step in my makeup process! The purpose of contour is to give areas on your face definition. It allows your face to have dimension and it gives it a 3-D effect. We were born with beautiful features and we should embrace them! And that’s what contour does for your face. It brings out that beauty!
Why Contour
Why do we need contour? Our faces have natural shapes and shadows. When we apply one color all over our face, we take away those natural features and we look flat and lifeless. Nobody wants that! Contour gives your face life and it makes you look feminine.
Where to Apply Contour
Everyone’s face is different, but in general, you should focus your contour on these areas:
-
Cheekbones
-
Jawline
-
Forehead along your hairline
-
Along the bridge of your nose
How to Apply Contour
Cheekbones: This part can be tricky, but you can master it because I’m going to give you some tips! Take your fingers and try to locate the bone above your cheeks. It is below your eye area and runs parallel to your jawline. Now once you’ve found your cheekbone, you want to focus your contour color right below that bone. There is a hollow part that your brush can easily fall into. You want to take your contour, start at your hairline, and draw a line with your brush just below your cheekbone, all the way to your cheek. The best and most flattering way is to end it like the curve of a “J”, cupping your apples of your cheeks. This will help lift your cheeks. Be careful not to add contour to your laugh lines because this could make it appear dirty and it loses the effect of slimming that area down.
Jawline: By shadowing your jawline, you are making that area pop instead of letting it melt into a double chin. You simply take your contour color and brush it along your jawline…that’s it! And then you can blend it and it will give you a nice shadowed affect.
Forehead: When you look at a ball, it is naturally shaded at the top and bottom. And so it is with your forehead. We want to give that shadow back to your forehead by applying contour just below your hairline. Depending on how long your forehead is will depend on how much contour you apply. Start with a small line and you can always add more. Once it is blended your face has more dimension.
Nose: Not everybody likes a contoured nose. But if you do, then it’s pretty simple! The bridge of your nose is right down the middle. You want to take your contour and add color right along the sides of your bridge. Not a lot, just a thin line. This will make your nose appear slimmer. If you have a larger end to your nose, you can also add contour color around the area to make it look smaller.
Contour is such a fun and easy step to add to your beauty routine! Gone are the days of the flat face look! Let’s embrace our beauty and bring it out! Contour is a beauty basic that you don’t want to miss!
Want to learn another lesson in the Beauty Basics Series? Click here!
Intersted in purchasing some contour to beautify your face? Click here!